Thursday, June 25, 2015

Summer Daze

Between my busy performance schedule and the kids' summer vacation time, I've not had much time for work around the 'ol train space. I had some time today, so I decided to try out my new double-action airbrush I got on eBay for $15.00.

#2 was in need of a more detailed weathering job, so I went at her as follows:

1. Light fade coat of Grimy Black
2. Ash and steam scaling with Light Concrete
3. Undercarriage dusting with Earth
4. Highlight Drybrushing/streaking with a mix of Earth and Concrete

I'm fairly happy with how everything came out, though the weathering is a bit on the heavy side.


The coaches got a light undercarriage hazing with the earth mixture as well; I might do a bit of drybrushing also, since I enjoy the effect.

In recent weeks, I've been working on finishing my flatcar kits from Marsh Creek Models:


The oxide red mixture was actually the first thing I airbrushed with my new brush. Still need to add some touchups and paint the brake staff/hanger a different color. Well, of course, and add the trucks and wheelsets.

Regarding the airbrush; I'm very pleased with the action of the brush, and it lays color beautifully. Really quite a steal, as this is my first double-action gravity feed. I'm spraying straight Polly S acrylic, diluted with several drops of 70% iso alcohol and mixed in the cup. I set the brush around 15 psi for the fade coats during weathering, and at about 20-25 for laying heavier coats. In general, I can spray at lower psi than with my Paasche single-action.

Two tools, found on Amazon, have proven invaluable to my airbrushing process: my airbrush cleaning pot and a bottle of airbrush cleaning solvent. Really makes the process of cleaning the brush and switching colors a snap.

In other news: I found another one of these and couldn't resist snapping her up.


I haven't decided if I'll use another Toma Model Works body kit (like #2), or if I'll keep and detail/repaint the stock body.

Wednesday, May 20, 2015

Land, Ho!

I've been taking most of my railroading time to really dial in the land contours of the layout. As I've mentioned ad-nauseum, shaping the terrain has never been my strong suit, so I'm taking my time and evaluating/adjusting as I go. The pace has been very much snail-like, but I want to be happy with the final result.

Here is a general overview of things as they stand now, with some buildings mocked up in place.


The biggest rise in terrain is to the west end of the layout. Here I had originally planned for the cafe and hotel to be adjacent to each other on dual levels, but in execution there really wasn't enough room for the terrain to rise naturally and still have space for the buildings. You can spy the beginnings of the road cutting up the hill; it will eventually pass in front of the cafe and cross over the tracks across the cut in the north-west corner.


I really like using lightweight spackle to contour the levels together; sets up quick, and sands easily.

The East end of the layout will be primarily flat, with the exception of a small rise and cut toward the north-east corner to break up the visual of the tight curve. Here, a yet-to-be named industry will be served by the spur, and the hotel (and perhaps one or two more related outbuildings) will help visually distract from the track at the rear of the layout. Of course, it's also the spot for our depot.


Once I get the final contours in, I'm looking forward to "banishing the pink" forever with a coat of earth-toned paint. 


Monday, May 4, 2015

A Quick Update

I haven't been blogging much in the past week or so, but I have been attacking several projects on the layout in a haphazard, random fashion. Here's a bit of what has been going on.

4-4-0 Shapeways Conversion

After some time waiting for various parts to arrive in the mail, I started in on my HOn30 conversion of the Model Power N-Scale 4-4-0. This is to be my very first HOn30 kitbash "opus," especially since it will involve DCC and SOUND, and I'm spending a lot of time trying to get all the details of this loco perfect. Step one is to analyze and dry-fit the components, and make decisions on how I'd like the finished product to go together.


As you can see in the photos, I've been experimenting with different stacks and pilots. Both the brass diamond stack and the brass cowcatcher are a bit oversized, and this led me to try my very first stab at creating new parts of a more appropriate size in 3D. I'm currently awaiting test prints from Shapeways.

I also decided this loco would be sound equipped; perhaps it's because I'm a musician, but having sound-equipped locos has been high on my list for a long time. Sound is a huge part of the "visceral" experience of railroading. Having worked for most of my modeling life in N scale, and now in similarly-sized HOn30, the prospect of jamming in sound decoders in limited spaces has been daunting, but I've decided to tackle it head on with this loco. I test installed a Digitrax 16-bit sound decoder to test out functionality and the overall effect.


I have since revived a new, improved speaker that should beef up the sound quotient. More on that later.

Land, Ho!

I've also started building up the landforms on my little layout. I guess I've been putting this off because, as I've mentioned in the past, I tend to have a not-so-great eye for sculpting natural looking landforms. That said, I'm applying the techniques I used on my test module and things are going OK so far.


Using horizontally stacked cross-sections of hill contours seems to help a lot; it also reduces the amount of tedious, messy sanding and scraping I need to do to arrive at the final land contours I desire.

I'm trying to stay productive, while at the same time really optimize my time to work on the projects that strike me as most interesting at the moment. I think the next big layout milestone will be when I can finally not have a giant pink wasteland surrounding my right-of-way...

Thursday, April 23, 2015

A diversion: HOn30 turnout building, and thoughts on trackwork

Yesterday, I had a strange moment that happens occasionally: I had the urge to build a turnout.


I've handlaid many turnouts, all of them up to this point in N scale. One of the big reasons I got into HOn30 is the fact that most of my tracklaying tools can translate seamlessly from N.

I have a secret passion for handlaid track. Track is a model, and should be treated with the same attention to detail and integrity that we give to models of rolling stock and structures. More relevant to my interests is the quest to create "perfect" trackwork; let me explain.

In an idea model world, the rolling stock would glide along the rails and through complicated turnouts and crossovers with the same smooth implication of weight we see in the prototype. Nothing bugs me more than seeing my model rolling stock bouncing through frogs or wobbling over their truck bolsters like bobble head dolls. While there are several aspects to attacking this problem (more on that in another post), step one is trackwork that is constructed with very specific attention to clearances, consistency, and accuracy.

Here are a few tools that really help me in that particular quest:

I've written about it in other places, but this very simple jig helps me fabricate the perfect frog angle. It's just a piece of MDF, with a washer/wignut combo to hold the rails in perfect angle while they are soldered into a single unit. An accurate frog, constructed in this manner, is the heart of a smooth-running turnout.


Here's my other secret weapon: my Mini-Tool-Ginder from Harbor Freight. Best $20 I ever spent. It makes the work of filing point rails, frog angles, and point pockets go from minutes to seconds.


Generally, I knock down my basic rail dimensions with it, then adjust as needed with hand files and wet-dry sandpaper.

While this is the first turnout I've built in a while, I believe I got pretty close to perfect with the dimensions of the frog and wing rails. I'm also being a stickler about cleaning up/filing solder blobs, and I will be filling the gaps in the PCB ties to render them invisible. Little details like this really contribute to a polished, clean-looking finished product.


Another reason for building this turnout is to dry-run an idea that I've been wanting to try out for a while: a hinged throwbar.

I sanded the copper clading off of a PCB tie, then drilled two holes in it. I formed L-shaped "pins" from copper wire, then soldered them to the foot of the point rails. Since there is no cladding on the throwbar, the pins don't solder to it; rather, they "float" in the mounting holes.

Sorry, blurry pic:


Currently, it's not really working the way I want it to; the pins are slipping out and not actuating the points. Getting close, though; I think I need to tighten up the mounting holes. 

While I don't have a specific use for this turnout at the moment, doing fabrication and engineering exercises like this is helping me narrow down my techniques for building better trackwork in the future. It's my plan to fabricate several to have on hand for a future HOn30 switching layout that is rumbling around in the back of my brain...

Thursday, April 16, 2015

Moar!

"Moar" stuff done tonight!

A boardwalk and frame for the sign on the Cafe. The planks were stained with India Ink / Alcohol mix, then stained with a dilute wash of burnt sienna. They were stained before being cut or installed to preserve the "random" flavor of the color variations once in place.


I tackled the beginning of the switchstand project; after several failed attempts to make circular targets for the switchstands, I decided to go the "diamond" route, and fabricated four targets out of brass sheet. These were mounted with gap-filling CA to music wire, and trimmed to length.


Here's a dry-run/test-fit. I think they look pretty good so far; need to add the "base" of the stand by simulating two strap-steel "legs" and a handle as well.


Cafe Progress, Switch Throws

More progress on the Cafe. I managed to get the foundation built, signage installed, and window glazing in:


Still left to do: Boardwalk planks and steps for the front, trim for the sign, and an awning to shade the front porch.

I've installed my SPDT switch throws, and the electrical continuity of the layout is MUCH better by comparison. As of this writing, ALL of the wiring is now complete, and the layout is running great.


I'm going to scratchbuild scale-sized switch stands to disguise the slide switches, much like these DR&GW "short" stands.


Finally, I'll get to move on to painting track and tackling scenery, which is my favorite part of the hobby!


Monday, April 6, 2015

Odds and Ends, and a photoshoot

I tend to procrastinate when it comes to mundane, time-consuming tasks; and as such, completing the wiring on the MVRy. layout keeps getting bumped to the bottom of my "to do" list.

With a lengthy day off ahead of me, I decided to tackle the task head-on and put it behind me. I dropped all the remaining feeders, cut the module rail gaps (so that the two halves can be functionally separated, and cleaned up my solder joints.


My Peco power-routing turnouts have been giving me some trouble lately in terms of routing the power through the frog. After doing some research, I discovered that relying solely on the point friction to transfer power through the turnout is a sketchy game at best; better to solder a wire to the frog, and use a routing switch (like a SPDT switch) to route the power.

I dropped wires and soldered in the feeders, placing each feeder on the opposite side of the viewing angle to best disguise them.


Small SPDT switches will be installed next to the throwbars, then shaped and detailed to look like scale switch stands. More on that later.

I finished the Shapeways tender for #2 (with the exception of decals, a coal load, and weathering), and ran it on the layout for a bit.


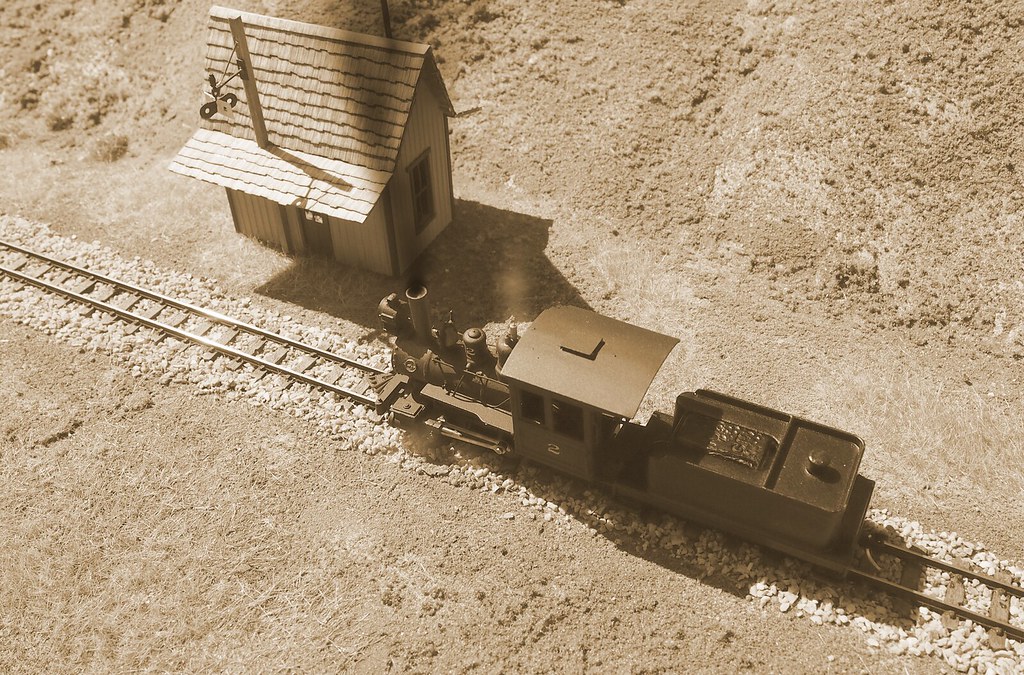
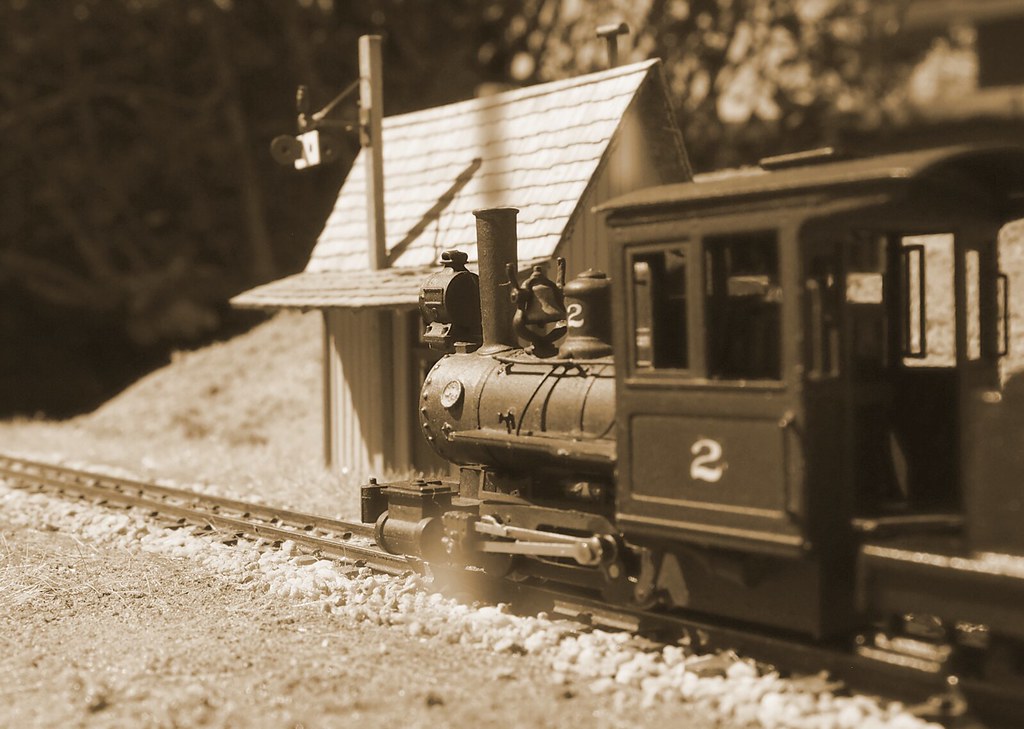
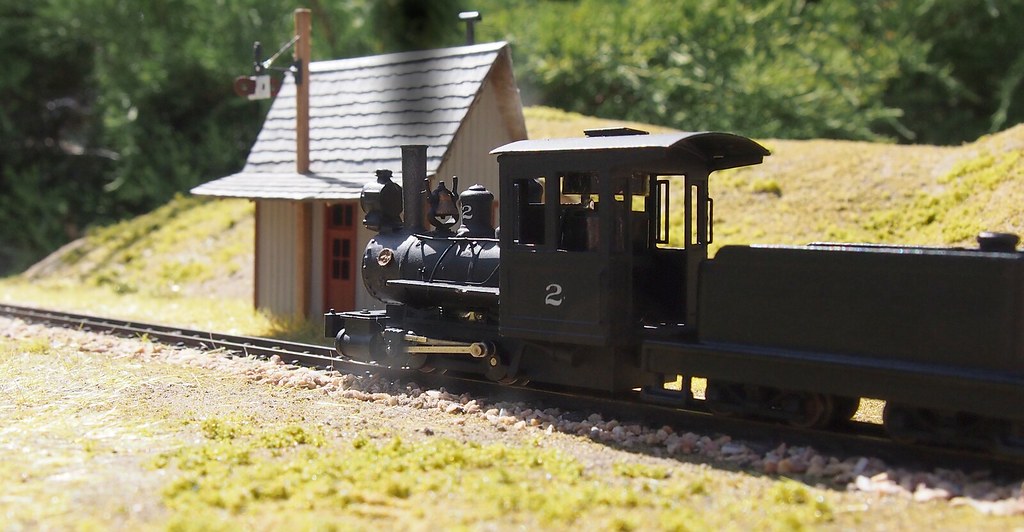
 It was a nice, sunny day, so I decided to take the test module out and take a few "beauty shots." Really happy with how these came out.


There are a bunch more, but these were some fun picks. I like the effect of the sepia tone on the scene.

More fun and frolic to come, folks! See you soon.