The primer was "OK," at best. I went ahead and loaded up my airbrush with thinned flat black enamel, ready to spray the base coat.
Ready...aim...fire!
A splattery mess slopped onto the little loco frame I had spent HOURS working on. Strange cobweb-like fuzz started to form over the messy, blotchy paint coat. My heart felt like it was sinking.
Luckily, some wrongs can be righted. After some agonizing on an online forum, it was suggested I soak the whole thing in 91% rubbing alcohol and go at it with a toothbrush and Q-tips. Not only did this clean up the messy paint, it stripped the less-than-adequate primer job and also removed the factory paint from the frame and cowcatcher. I was back at square one, ready to start afresh.
~~~~
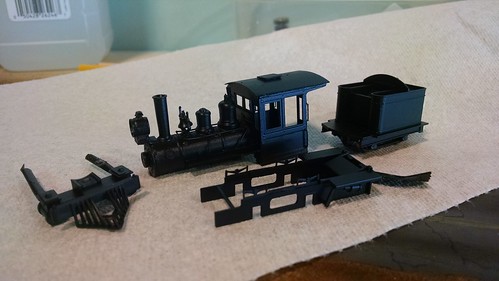
This time I used a big rattle can of Rustoleum 2-in-1 Primer as my base. Really nice, even coat, and a tough grip on the brass and white metal parts.
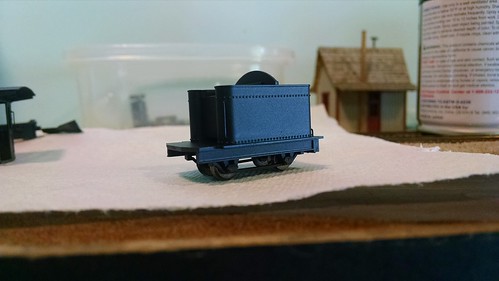
Next, I decided to eschew the airbrush in favor of Tamiya rattle cans. The first coat of black:
Looking much better now! The next day, I started filling in details with graphite (Tamiya "Gunmetal") and Brass (Testors), as well as adding some decals.
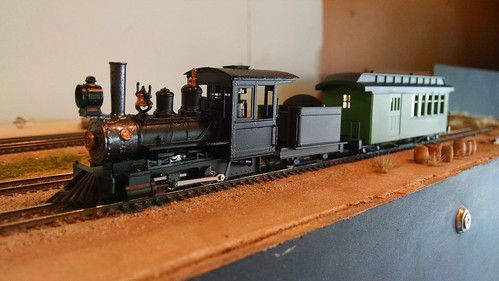
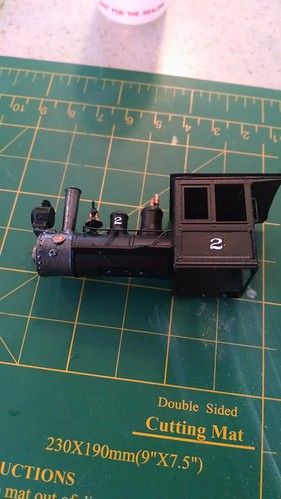
Now THAT'S more like it! The moral of the story? Don't lose hope in the face of disaster...you can often find a way to salvage your mistake.
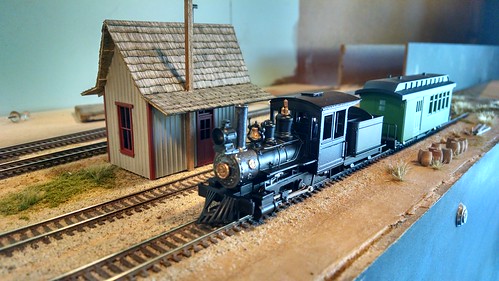
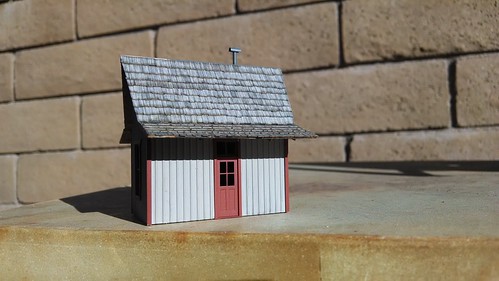
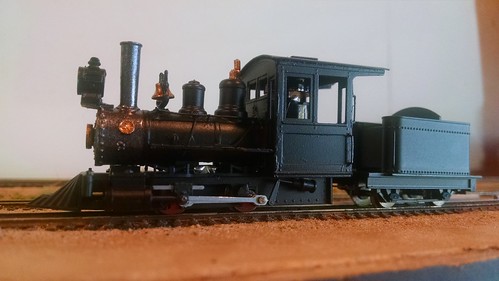
I will leave you with a tempting little preview of a future scene on the layout...Our 3/4 completed depot with 3/4 completed #2 posing in front.