Tuesday, June 17, 2014

Engine #2...ready for the paint shop

I finished the detail work on the Toma Model Works body kit this morning, and matched it to the F&C 0-4-0 chassis. This is a fairly advanced level kit, and the first brass/white metal kit I have attempted. It definitely pushed my skills, and I learned a lot in the process.

Here she is posing on my N scale layout.


She is not without her rough edges...like I said, there are a few things I would do differently next time. However, I am looking forward to cleaning her up a bit and getting her ready for a few coats of paint. Engine and tender will receive basic steam-engine black, with a graphite smokebox.

Monday, June 16, 2014

Inspirations

Narrow Gauge railroads have been an increasing interest for me as late; hence the inception of this layout. I thought I'd share a few of the photos I have found online that serve as inspiration for my endeavors.

The following are a few shots of the Pacific Coast Railway, a 3' gauge line that ran between Pismo Beach and Los Olivos many years ago. This is very much the "flavor" I am trying to capture with my fictional line; single-track, meandering right-of-way through lush hillsides, mixed trains, oak trees, and trestles.


There is also a hefty dosage of inspiration from the famed Maine 2-footers like the Sandy River & Rangely Lakes; especially the diminutive nature of the equipment.


As you can see in the last photo above, narrow gauge railroading really helps you pull in the chicks.

Saturday, June 14, 2014

A Depot for the MVRRy

While I await delivery of ties to start laying rail, and detail parts for my 0-4-0, decided I would start working on the depot.

Here's the inspiration: the Scale Model Masterpieces shortline depot. You can see the resemblance of this to the little sketch I did for this Blog's logo. This station has the perfect "look" for my little layout, and the train-order signal fairly screams shortline railroad. However, I didn't want to spend $60 on the kit; and I wanted to change the stone construction to board and batten. Scratchbuild!


Using a scale ruler and some cardstock, I made a paper mockup to get the dimensions I wanted. I went through a few iterations to get the ratio just right. There is something relaxing about free-styling with some cardstock, a pencil, and a ruler; it's arts & crafts all over again.


Then, I started cutting and assembling the walls, using measurements from the cardstock model as a dimensional guide.


As you can see, I use painter's tape to secure one of the walls as I carefull attach the others. 90 degree braces are formed from the corners of the scrap pieces, and they help shore up the walls.

The final wall assembly, with primary rafter supports installed.


The walls, trim, and doors/windows were spray-bombed with cheap grey Krylon primer.


I realized after spray-bombing that I still need to cut pockets in the long walls for the angled 2x6 rafters that will support the eaves. I ordered those, a train-order signal kit and some shake-shingles today.

Now, to decide on a color scheme. I've always been partial to AT&SF style off-yellow and green, but I'm thinking of going in another direction with this one, maybe grey and maroon.

As I progress further, I'll post more step-by-step construction photos. I hope this inspires you to try scratchbuilding a project of your own.

Wednesday, June 4, 2014

Rolling stock arrives on the Marmion Valley

Ah, the trains are here!


This is the Minitrains "Fiddletown and Copperopolis" HOn30 set, a freelanced-American style offering from the German-based company which takes a nod to Carl Fallburg's toungue-in-cheek comic book history of the fictional railroad of the same name.

The body kit I am building, previously shown, will be a retrofit to this locomotive mechanism; the stock body is a bit cartoony and far-fetched to really be a plausible prototype, though it's cute.


That aside, it is a really well constructed locomotive, made in China. The body is finely tooled and painted with a durable-feeling matte paint. Runs like the proverbial Swiss watch, with barely a whisper from the motor. I do like watching the outside-frame counterweights flash behind the side rods. 

And here's a detail I'm not used to seeing, coming from the world of N scale steamers: An actual footplate between the tender and cab! No more losing firemen to the treacherous "gap of danger" as they stoke the fire.


Now, I am at a bit of an impasse, as the new shell I have built for the loco requires me to cannibalize the headlight, bell, and smokebox front from this little gem. Smokebox is no problem, just clips right off; I assume the bell is press-fitted, but it might be glued. However, from what I can tell from a cursory inspection, I'd have to hacksaw the headlight off of the molded-on bracket; For whatever reason, I don't want to chop up the original shell. 

Sooo, it's off to eBay for some brass detail parts. I'm thinking of getting both a box-style oil lamp and a more modern electric headlight, maybe fit a steam generator onto the boiler in that case; I'll try both and see which one fits the "look" better. While I'm at it, I'll probably grab another bell as well.

So there you have it! With the arrival of the first rolling stock, I'm really excited to get the ball rolling on trackwork. Looks like an order of code 55 rail and some PCB ties are in my future...

Tuesday, June 3, 2014

What the heck is the "Marmion Valley Railway"?

Hello world,

I'm pleased to introduce the blog that will chronicle the construction and concepts behind the Marmion Valley Railway, a lifelong N-scaler's first foray to the dark side of HOn30. I hope you enjoy coming along on this little journey of mine.

While I have long had a hidden passion for all things narrow-gauge (probably ignited by a boyhood trip on the Durango and Silverton), I have, for most of my model-railroading life, been a dyed-in-the-wool N scaler at heart.

However, when the itch to start a narrow gauge project railroad started, Nn3 (N scale's little-known and mystery-shrouded narrow-gauge cousin) didn't really seem attractive to me. Appropriate Z scale mechanisms are hard to find (not to mention expensive!), and don't really attain the level of detail I am interested in. I flirted briefly with On30, especially entranced with the unique and good-running equipment Bachmann makes, but the locos and rolling stock I collected lived neglected in their respective boxes for want of adequate space to roam about in.

The middle ground was HO - I think the connection of rail gauge between HOn30 and N attracted me. HOn30 allows for a lot of railroad in smaller spaces with a high level of detail.

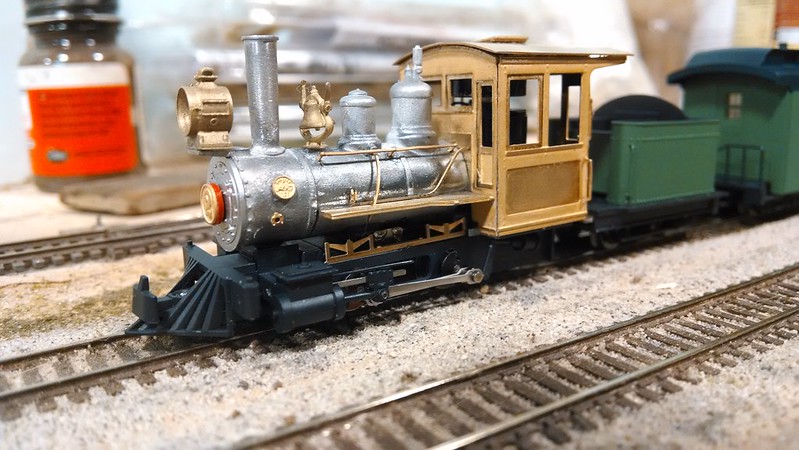
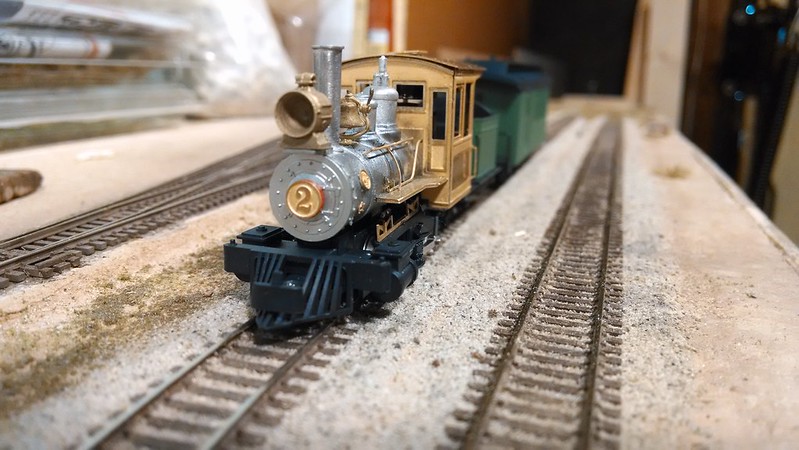
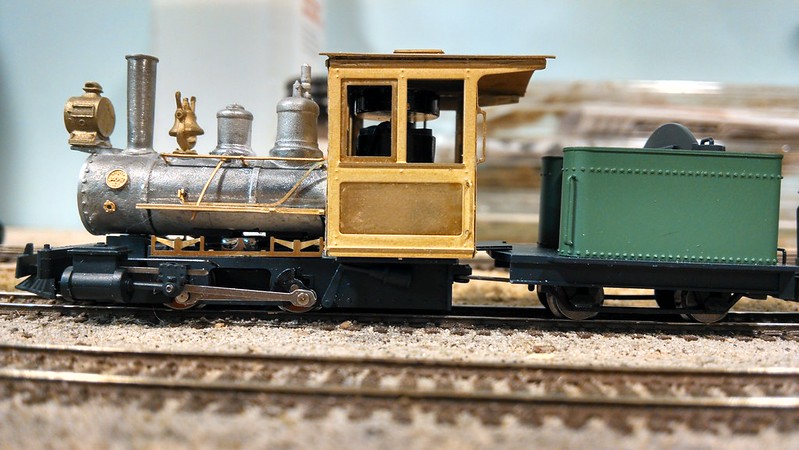
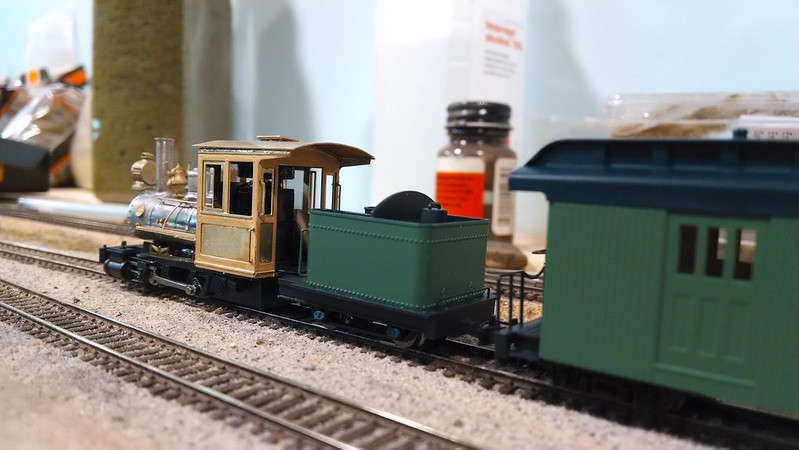
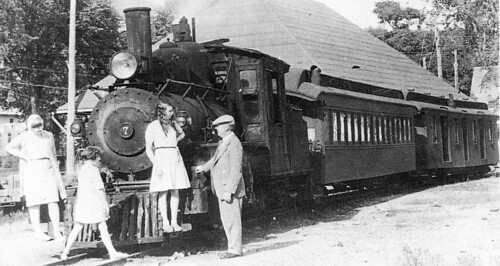
When I saw this white metal and brass kit from Toma Model Works, I was sold.


This is the beginning of Marmion Valley engine No. 2. I think it captures just the right flavor of detail, plausibility, and charm for a freelance loco of this type; and it sets the tone for the small-time, out-in-the-sticks, spit-and-bailing-wire operation that the MVRy. will be.

I'm starting small, because space is limited around the homestead right now. This little layout is 2'x4', and officially qualifies as a "Micro Layout" by HO standards.


Eventually, I have plans to expand by creating a series of FreeMo-style modules. For now, this little layout will serve as an experimental platform to introduce myself to the dark-art of narrow gauge modeling.

A Word on the Name

The original "Marmion Valley Ry." was a freelanced N scale standard-gauge layout of about the same size; it didn't really make it much past track laying, though it was operational. "Marmion" was derived from the name of the street our first house was located on; it also means "The Little One" in French, so it seemed the perfect double-meaning moniker for a model railroad.

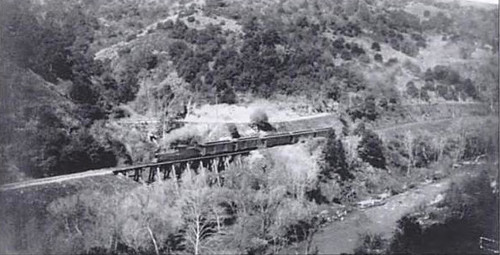
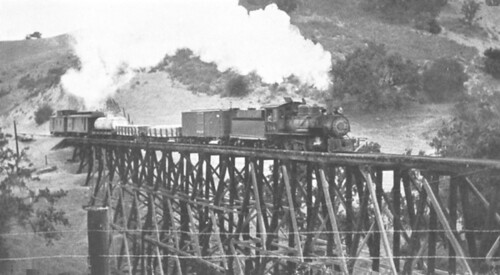
We are to imagine that the Marmion Valley Ry., in its current incarnation, is a 30" gauge shortline serving a fertile agricultural valley "somewhere" in Central California. While 30" was rare, if not non-existent in the states, the author begs the suspension of disbelief.