
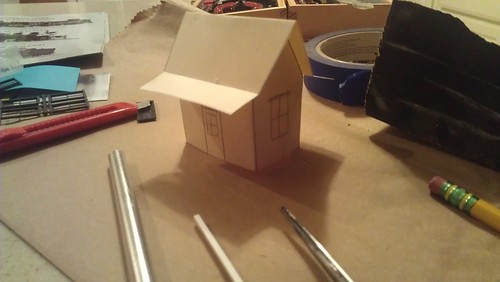
Here's the inspiration: the Scale Model Masterpieces shortline depot. You can see the resemblance of this to the little sketch I did for this Blog's logo. This station has the perfect "look" for my little layout, and the train-order signal fairly screams shortline railroad. However, I didn't want to spend $60 on the kit; and I wanted to change the stone construction to board and batten. Scratchbuild!

Using a scale ruler and some cardstock, I made a paper mockup to get the dimensions I wanted. I went through a few iterations to get the ratio just right. There is something relaxing about free-styling with some cardstock, a pencil, and a ruler; it's arts & crafts all over again.
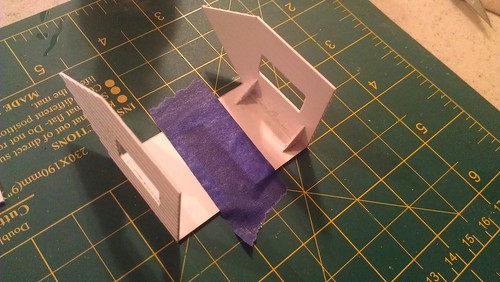
Then, I started cutting and assembling the walls, using measurements from the cardstock model as a dimensional guide.
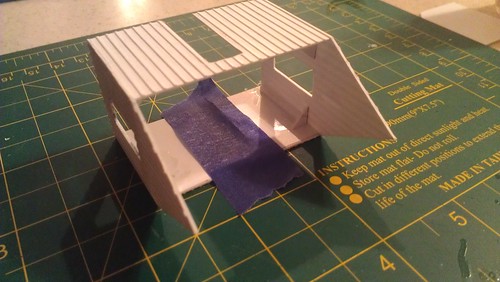
The final wall assembly, with primary rafter supports installed.
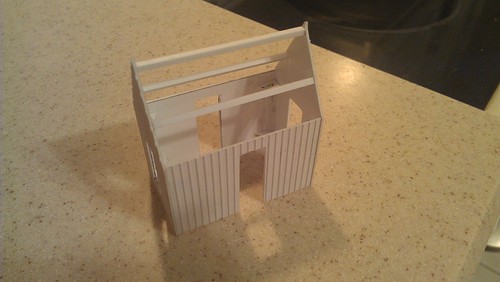
The walls, trim, and doors/windows were spray-bombed with cheap grey Krylon primer.
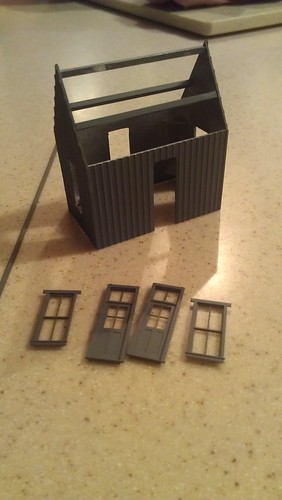
I realized after spray-bombing that I still need to cut pockets in the long walls for the angled 2x6 rafters that will support the eaves. I ordered those, a train-order signal kit and some shake-shingles today.
Now, to decide on a color scheme. I've always been partial to AT&SF style off-yellow and green, but I'm thinking of going in another direction with this one, maybe grey and maroon.
As I progress further, I'll post more step-by-step construction photos. I hope this inspires you to try scratchbuilding a project of your own.
No comments:
Post a Comment