I used a full-sized printout of the plan to locate the main features of the track on the benchwork. Usually, the best method for me is to locate the position of turnouts and tangent (straight) track, and "connect the dots, so to speak.
It seemed most logical to start with the biggest "cluster" of turnouts. I am using Liquid Nails for Projects to cement the track in place, taking care not to foul the pointwork of the turnouts.
The Peco "electrofrog" turnouts require special considerations in the form of insulating rail joiners, since they route power polarity directly through the frog. I'm interpreting the directions in the clearest way I can, and have my fingers crossed that I'm getting it right!
After a couple hours of careful measuring and trimming, the "center stage" trackwork is taking shape.
Using experience from past layouts, I'm taking care to ensure smooth transitions through curves.
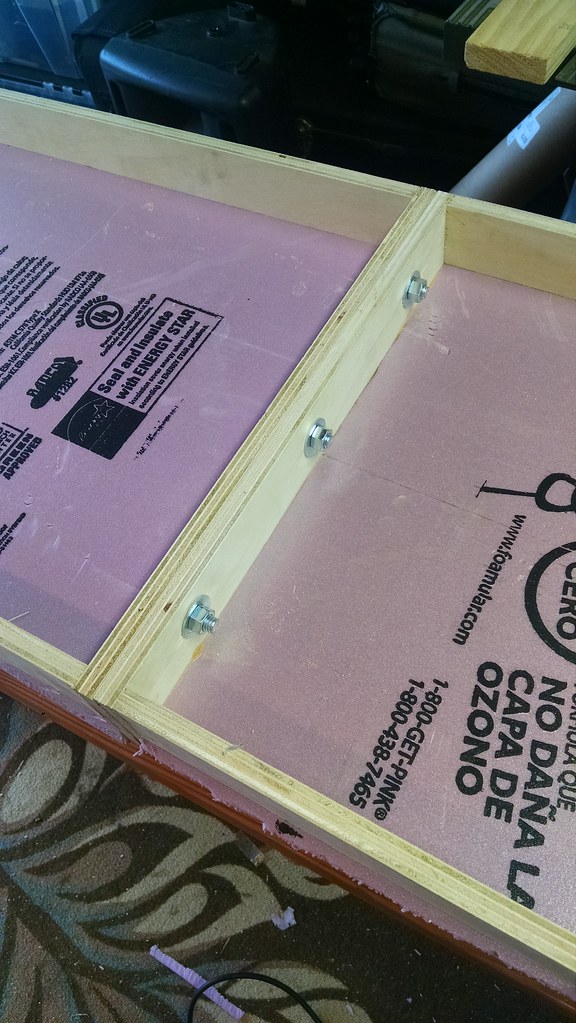
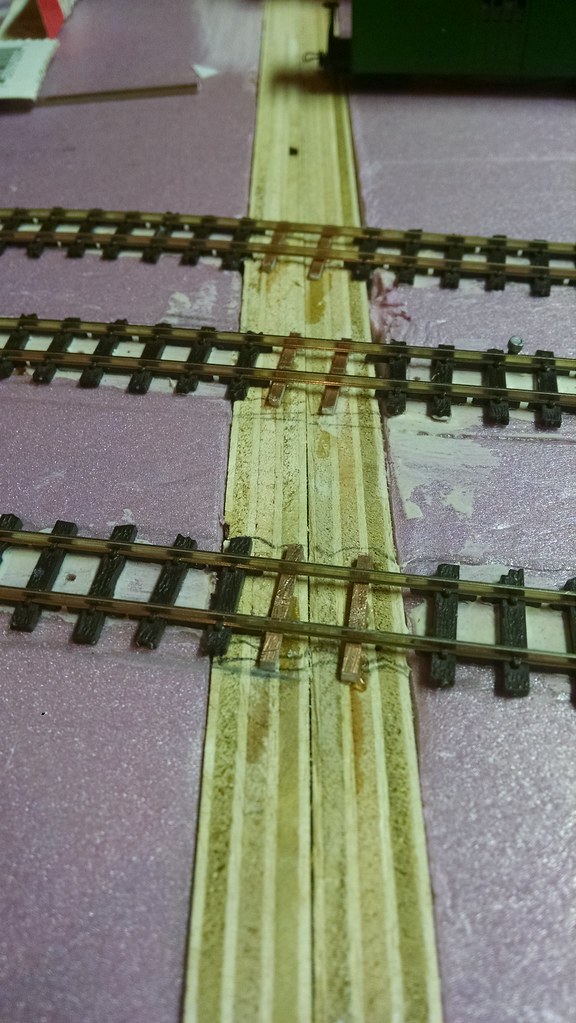
I cemented down the PCB ties that will anchor the rails between the two "modules" that make up this layout. I don't anticipate actually cutting the gaps anytime soon; but this will be a "failsafe" for when I need to separate the modules for a future move/layout transportation.
Once the ACC cures, I will solder the rails permanently to the PCB ties.
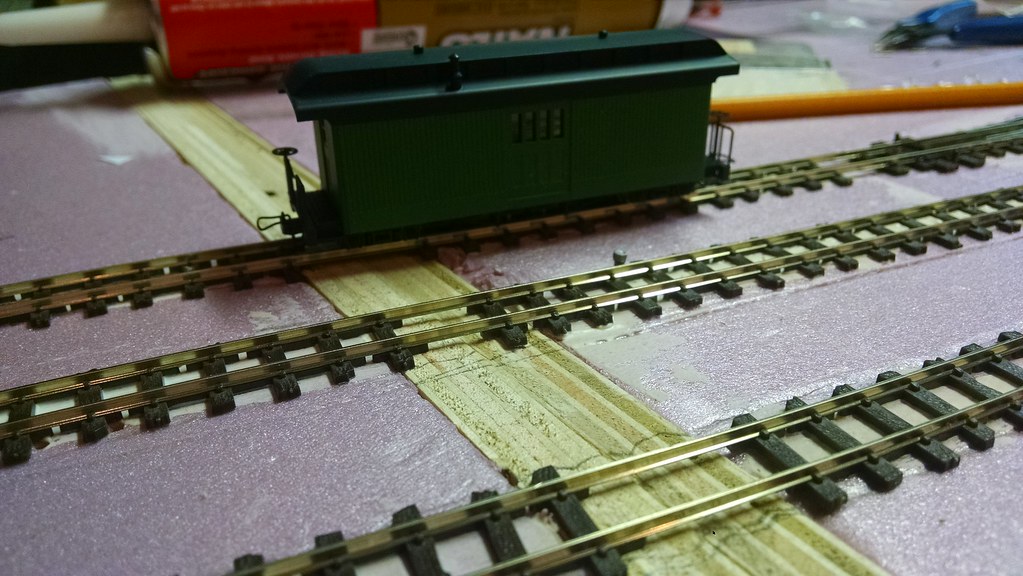
The MVRR's official "test car" rolled a few trial passes down the completed trackwork.
It's exciting to see this incarnation of the Marmion Valley taking shape. After a couple more work sessions, I should have the layout ready for the first "test run," and that will be very cool to see.
Piece by piece, I am steadily growing my roster of HOn30 rolling stock. Currently on the workbench:
- A pair of Marsh Creek Miniatures "Maine Frame" flatcars (resin kits).
- A Funaro & Carmelengo "Short Rio Grande" caboose kit (resin kit; see earlier posts).
- Two different Mount Blue Model Co. Boxcar Kits (both 28', laser-cut wood kits).
While I am excited about assembling these kits, there are a couple issues bugging me at the moment that I can't quite solve yet:
1. Couplers: Most American-based HOn30 kits use Micro-trains N Scale couplers, which are currently incompatible with the hook-and-loop variety that are on my Minitrains loco and passenger cars. The Minitrains loco can be easily converted to micro-trains couplers, but the passenger cars are a different story.
2. Minimum radius: the body-mount nature of the above-mentioned couplers, and the length (26' and above) of the rolling stock don't really lend themselves to the 7" radius curves on this version of the MVRR.
I do need to decide on a standard coupler/mounting method for my rolling stock. The Minitrains equipment comes prepared for "micro layout" standards with the very forgiving hook and loop truck-mounted couplers. However, if I wish to "branch out" from their stock offerings and incorporate the new kits into my layout, I have to figure out if I can successfully modify the kits I have to run on the track conditions on this layout. Stay tuned!


Don't forget to gap the copper cladding on the PC board ties!
ReplyDeleteNice work, all around. Have you done minimum radius testing on any of the body-mounted coupler equipped rolling stock? 7" radius sounds so tight, even for HOn30. But that narrow-gauge equipment sure is cool.
Hey Galen,
DeleteThe Minitrains equipment (which has truck-mounted couplers) can negotiate as small as 4" radius; check a few posts back on my blog for a video. As far as the kits that have body mounted couplers, I need to actually get them built before I can finish testing.
Even if those cars can't make these turns, I can save them for a future layout with more generous radii. In the long term, I think I'd really like to build an HOn30 switching layout, or a larger garage-sized modular setup.